background

Showing posts with label tutorial. Show all posts

Friday, November 14, 2014

Inspired Stamps Waterfall Tutorial


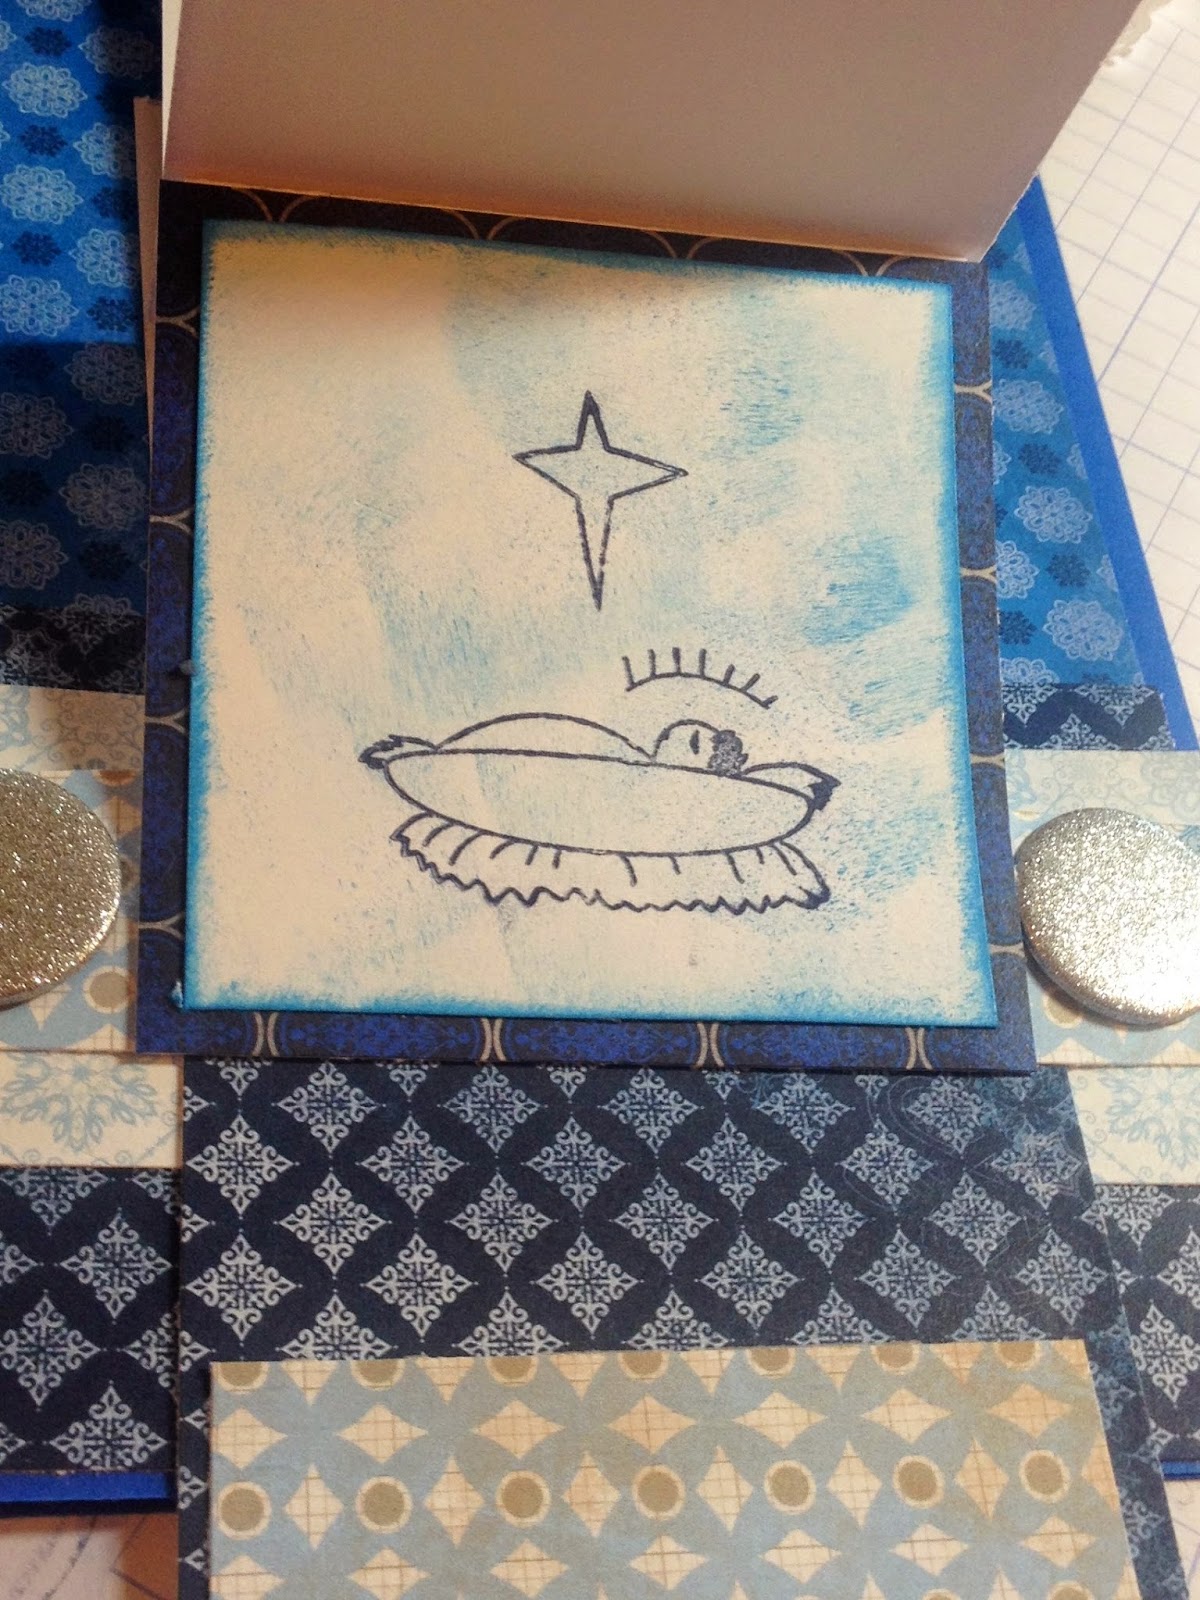
Today I am sharing a tutorial on a waterfall card using Inspired Stamps sweet Nativity set. Because the cutting and folding takes a little time, I kept the stamping very simple. I used to think this had to be  really difficult card to do found it's actually quite simple.

My card is 5x7 so start with a base of 10x7 folded in half.  You will also need 4 squares for your mats cut at 3x3 and 4 plain squares of 2 3/4"x2 3/4". I then used a light touch with a sponge to add color to the white squares and then inked the edges darker.  After they were all inked, I used a dark blue to stamp the images.
 Adhere each of the stamped images onto a mat.


Next cut a plain cardstock strip to 2 3/4" x 12". Then score the strip at 3", 3 3/4", 4 1/2" and 5 1/4". Fold on the score lines-as shown (all mountain folds).  
 Choose your bottom image and adhere it to the 2 3/4' square left from the 1st fold.

Pay close attention for the next image to only put adhesive on the strip, then carefully line up next image square over adhesive and right next to fold-not over or under it. Continue with last 2 squares.


I adhered coordinating cardstock to the bottom inside flap of my strip. Now cut a coordinating strip of cardstock 1"x5" and another 2"x5".  Center and adhere 1" piece to the edge of back of bottom square.
Attach ends of 1" piece over 2" piece with brads-NO adhesive


 Use adhesive on back of 2x5" piece and  adhere only to your card front approx 3/4' from bottom of card front.. The back of your waterfall strip should NOT be attached or glued to anything.  Slide it between your 1" and 2" strips between the brads. it becomes your pull "tab"


Saturday, May 18, 2013

Mixed Media with Inspired Stamps

I

Good  Saturday everyone! I had so much fun with this project! It really came together quickly and will now go in my kitchen as soon as we are done painting the walls.  If you have been visiting Inspired Stamps this month then you know we have been having a ball with Mixed Media projects.  

I chose to alter a wooden frame I picked up at Michael's for less than $2.  I first sprayed it with cherry Color Shine from Heidi Swapp.  After a few minutes it was dry enough to stamp.  


For the stamping, I used the hymn stamp from the Background Stamp Set and Memento ink.

For the ribbon, I used my favorite seam binding and sprayed it with the same spray as I used for the frame.  After spraying it, I used a paper towel to crumple it into a ball and then let it dry.  For the center of the frame,  I stamped a verse from the new stamp set Draw Near from Inspired Stamps.  I finished it off with washi tape, a fabric flower and some bling.  

Friday, November 9, 2012

Inspired Stamps Tutorial: Ribbon Calendar


It's my turn to share a tutorial as part of the Inspired Stamps Design Team!  I am excited to share a fun Christmas gift you can make fairly quickly and inexpensively.  The ribbon calendar is my daughter-in-love's favorite thing I have made for her and she requests a new one every year.  I have used Inspired Stamps for my scripture panels.

These are the basic supplies you will need: 5- 6x6 decorative papers (I like to grab a 6x6 paper pad), 5- 5 1/2 inch heavy cardstock sheets, roll of ribbon, mini monthly calendars, mini clothespins or decorative paper clips or bulldog clips, assorted embellishments, stamped scriptures
Choose the pages for your scriptures and glue down your clips.  I really love mini clothespins and you can get a box for less than $3 in the office supply section at Wal-mart.  The clothespins allow you to change out your scriptures or even use photos.

 Set them aside to dry well.  Cut apart your mini calendars if needed and adhere to your other 3 panels as desired.  You can try to make up your own calendars with a computer program or do what I did and spend a $1 and download one here: http://www.artfire.com/ext/shop/studio/purpleponyart


 Now it's time for the ribbon!  Line up your panels so the backs are facing up.  Space them apart as much or little as you'd like and then take the ribbon and hot glue down both sides, leaving a loop for hanging at the top.  This photo shows the 2 bottom panels.  You only need to glue the ribbon to the top of the bottom panel. I glue all 4 corners of the other panels.

To make the back sturdier and look neater, adhere a card stock panel to the back of each panel over the ribbon. 


 Now for the fun part!  Get out your box of embellishments and go to town! That's my "pink" box! 

For your scripture panels, cut a decorative base or use a journaling box and stamp your scriptures and any decoration.  For the top panel, I used Inspired Stamps Strength Stamp Set. For the bottom panel, I used Favorites Collection 1 Stamp Set. On both, I used the doily stamp from Lovely Lace to decorate the edges. 


 I hope you have been able to understand my tutorial and that you will find some time to make a few of your own ribbon calendars!  The clothespins allow you to change out your scriptures or even use photos.


Thursday, June 21, 2012

Inspired Stamps Easel Card & DIY Washi Tape

We are revisiting the wonderful world of easel cards today with Inspired Stamps.  These are such versatile cards and can become gifts themselves.  For a great tutorial on how to make these simple cards, check out Antoinette's video HERE.   You can get 3 4x4 easel cards from 1 sheet of 12x12 paper following her video.  I used a scripture from one of my most used sets for the focus of the card: Inspired Stampers' Favorites Coll 2.


In addition to using the awesome clear polymer stamps the traditional way, I also used the spiral stamp from the versatile Journal Stamps set to make my own washi tape.  I know you've seen all the fabulous designs of washi/tissue tape out in the blogosphere but why not make your own to complement your designs?  It's such a cinch and CHEAP.  Plus you don't have a huge roll to use up when you're done.  I get bored with embellies that I have to "use up".

Ready for the easy peasy instructions?  You'll need strong double-sided tape that has a liner on both sides covering the adhesive, plain white or light colored sheet of tissue (thin gift wrapping tissue), stamp pad and stamps.  Simply take your desired width of strong double-sided tape (I used the "red kind" from Michael's), cut the length you need.  Peel off one side of the liner and adhere to a piece of tissue. Now for the fun!  Stamp your desired design all over the taped tissue from end to end and side to side.  If you want the background white, then you can start cutting now but otherwise, sponge or use another method to do a lighter background on the tissue.  I stamped the spiral in dark pink and then just sponged a lighter pink in the white areas.    Now, cut your taped tissue off the sheet, remove the liner and adhere to your project.  I also chose to repeat the spiral shape around my scripture to tie the top and bottom together.

Enjoy making your own washi tape to accent your Inspired Stamps projects!

other supplies: Close To My Heart and Recollections